This is a series that I have started to explain how to learn and use Firebase effectively and efficiently in your apps.
So let's get started!

Since I have started learning Web Development last year, the journey was outstanding and definitely one to remember for many years. And in the process, I have learned many things as well. One such thing that made my journey and my learning a lot easier was Firebase.
What is Firebase?🤔
Firebase is a suite of backend tools provided by Google. It has a large variety of services embedded in it when you use it.
It has various services like a database, authentication, hosting, and much more.
Why should you use Firebase?
It is easy to use and learn
Firebase makes things very simple for developers making them integrate Firebase into their application very easily and also use Firebase for various tasks with ease. It not only is easy to learn and use, but it is also very much safe because it is owned by Google.
Wide variety of services
Firebase has a wide variety of uses like database, authentication, hosting, etc never leaving you alone in whatever you do. Whatever you might be doing, it is likely that Firebase has a service related to that.
What do you need to get started with Firebase?
It is very much easy to get started with Firebase. You just need a Gmail account to start using Firebase and nothing else. The process is that simple.
Let's actually start off by using Firebase!
Start off by going to Firebase's website. The link is firebase.google.com
On clicking on the link, you will be taken to a screen similar to this.
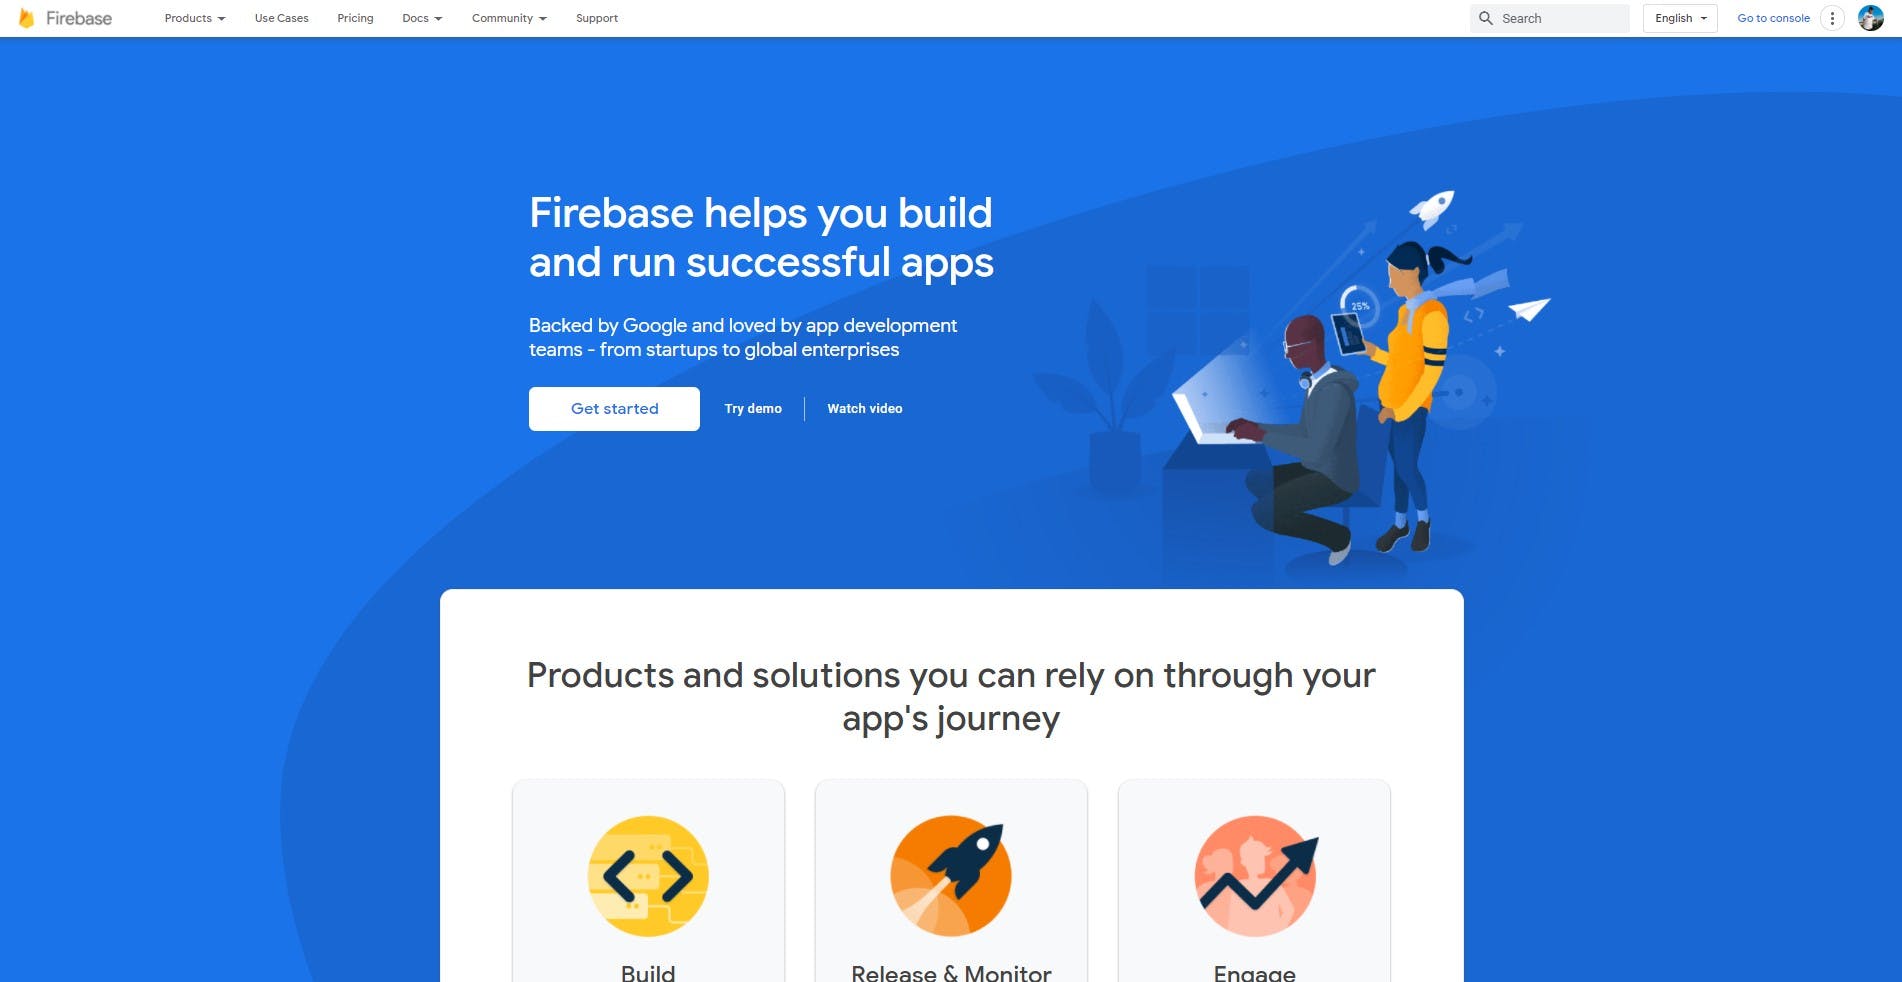
The home screen gives an overview of what Firebase actually provides to you and some organizations using Firebase. It also manifests the live events and tutorials regarding Firebase.
It also indicates snippets of code on how to use its services like auth in various languages like Java, JavaScript, Kotlin, Swift, Objective-C, C++ and Unity.
The home screen gives a lot of detail and guidance to a beginner on how to start using Firebase and its services in the language they prefer.
It might also give an insight that Firebase supports many platforms like Android, iOS, Web, and Unity.
Let's read the docs!
Before using anything it's absolutely important to take a look at the docs and see what it has to offer to you.

Hover on the Docs dropdown in the header given below. You will see a list of dropdown options somewhat like this.
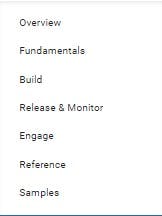
Click on the Overview option that will take you to the docs page.
The docs screen looks somewhat like this.
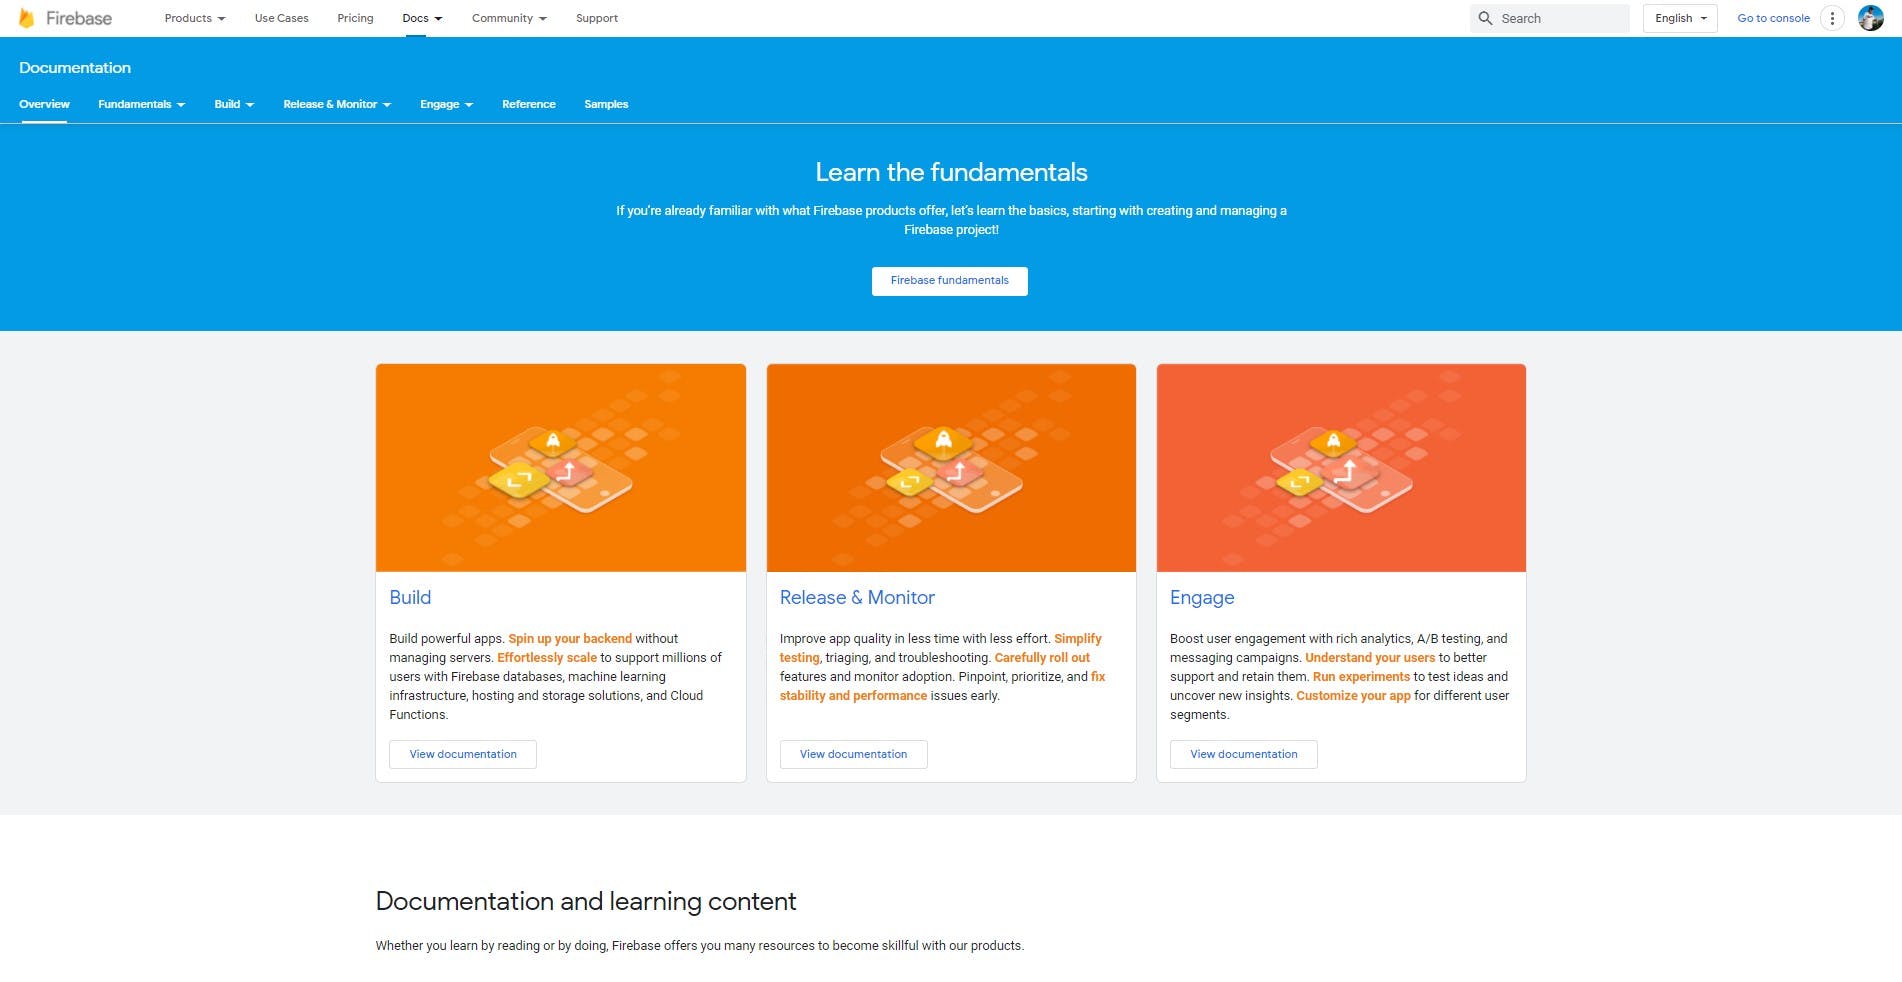
You can explore the docs and take a look at what the docs contain.
The docs contain references about how to add Firebase to various platforms like Web, iOS, Android, and Unity. It is the starting point of using Firebase.
It also has docs about its services like realtime database, firestore, auth, machine learning, hosting, etc. This section offers help on how to start using its services with the help of videos, tips on how to start using a specific type of service, giving the steps that one needs to follow. All these details have been given in detail by firebase giving a user all the resources that they need.
It also has various scenarios on where you need help, for eg: if you already have an authentication system and want help on integrating third-party management services or use a specific provider.
These comprehensive examples give much needed help and guidance to a beginner or help an intermediate or advanced developer try something new.
Let's start using the console!
Let's go back to the home screen of Firebase.
Click on the Go to console button on the header or the Get started button that is located on the home screen.
That will take you to the console.
Firebase Console shows all the projects that you have created on Firebase and if you have added any platform like Android, iOS, or Web to your app.
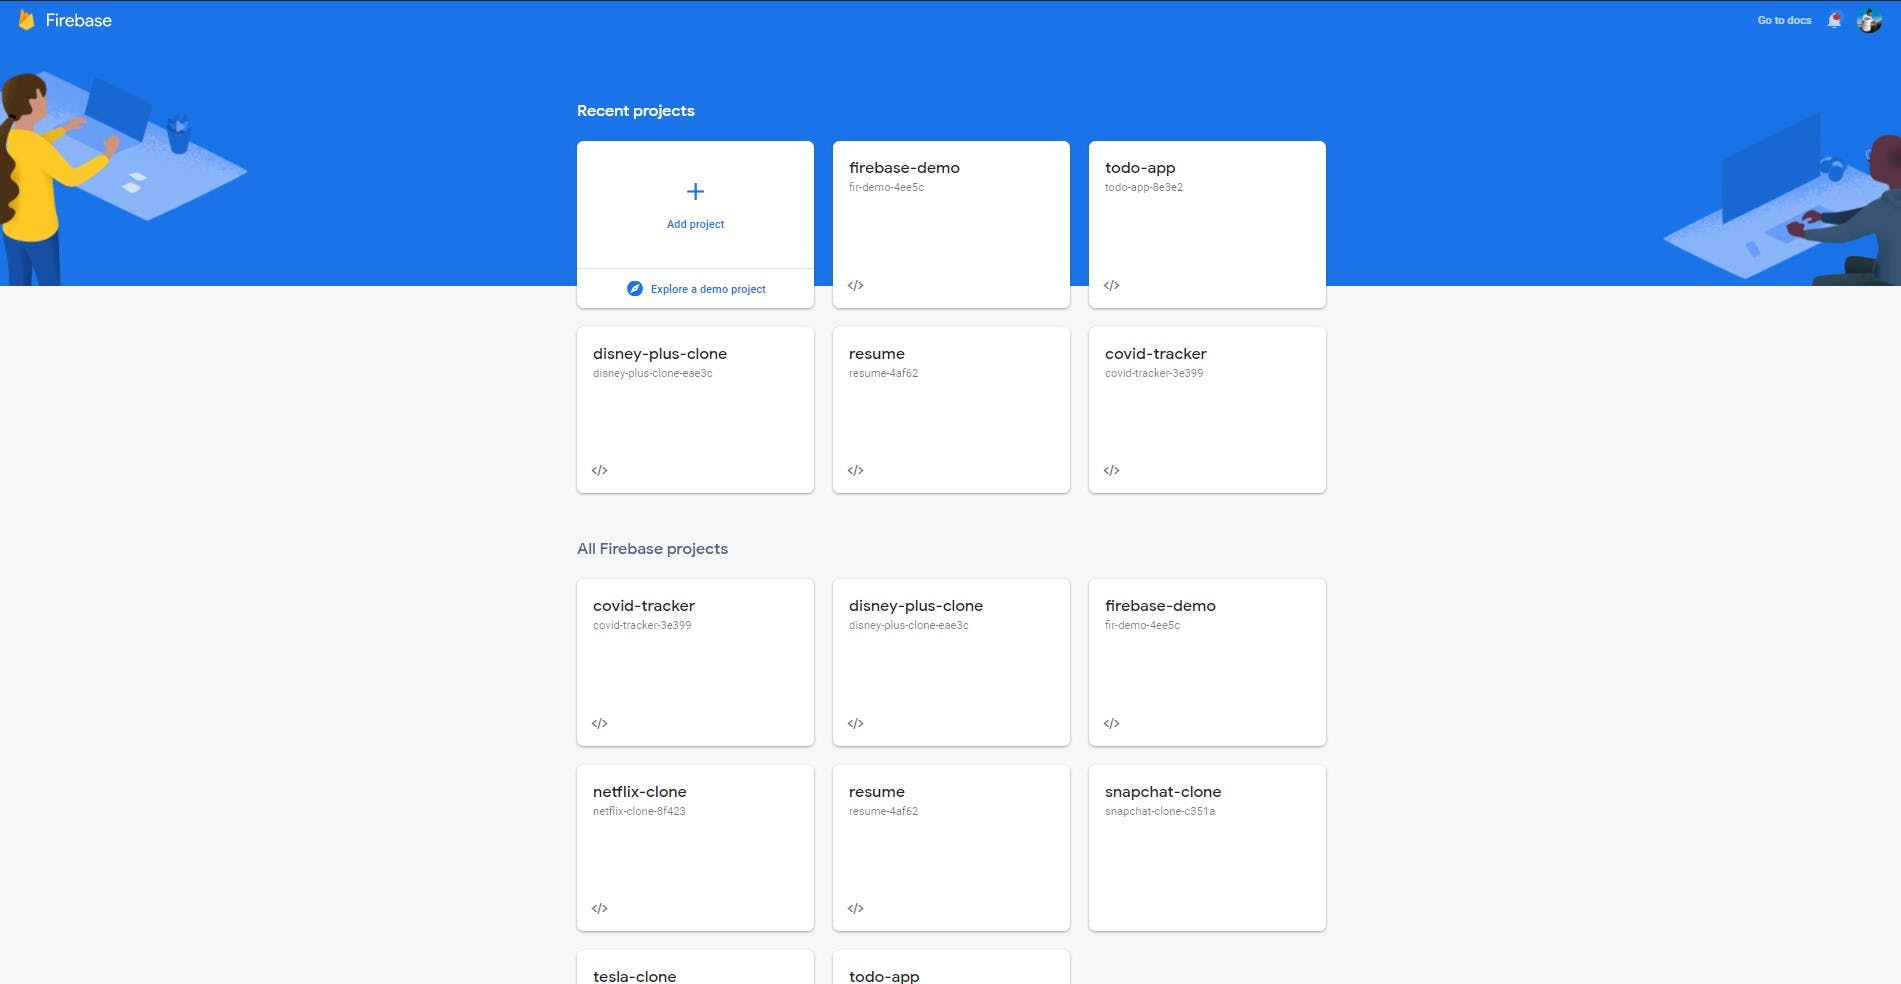
Through the console, you can view your existing projects, create a new project or explore a demo project.
Let's create our first Firebase project!
Click on the + button that looks like this
It will take you to a screen asking you to enter the name of the project. I have entered it as demo-project. You can name it anything you want.
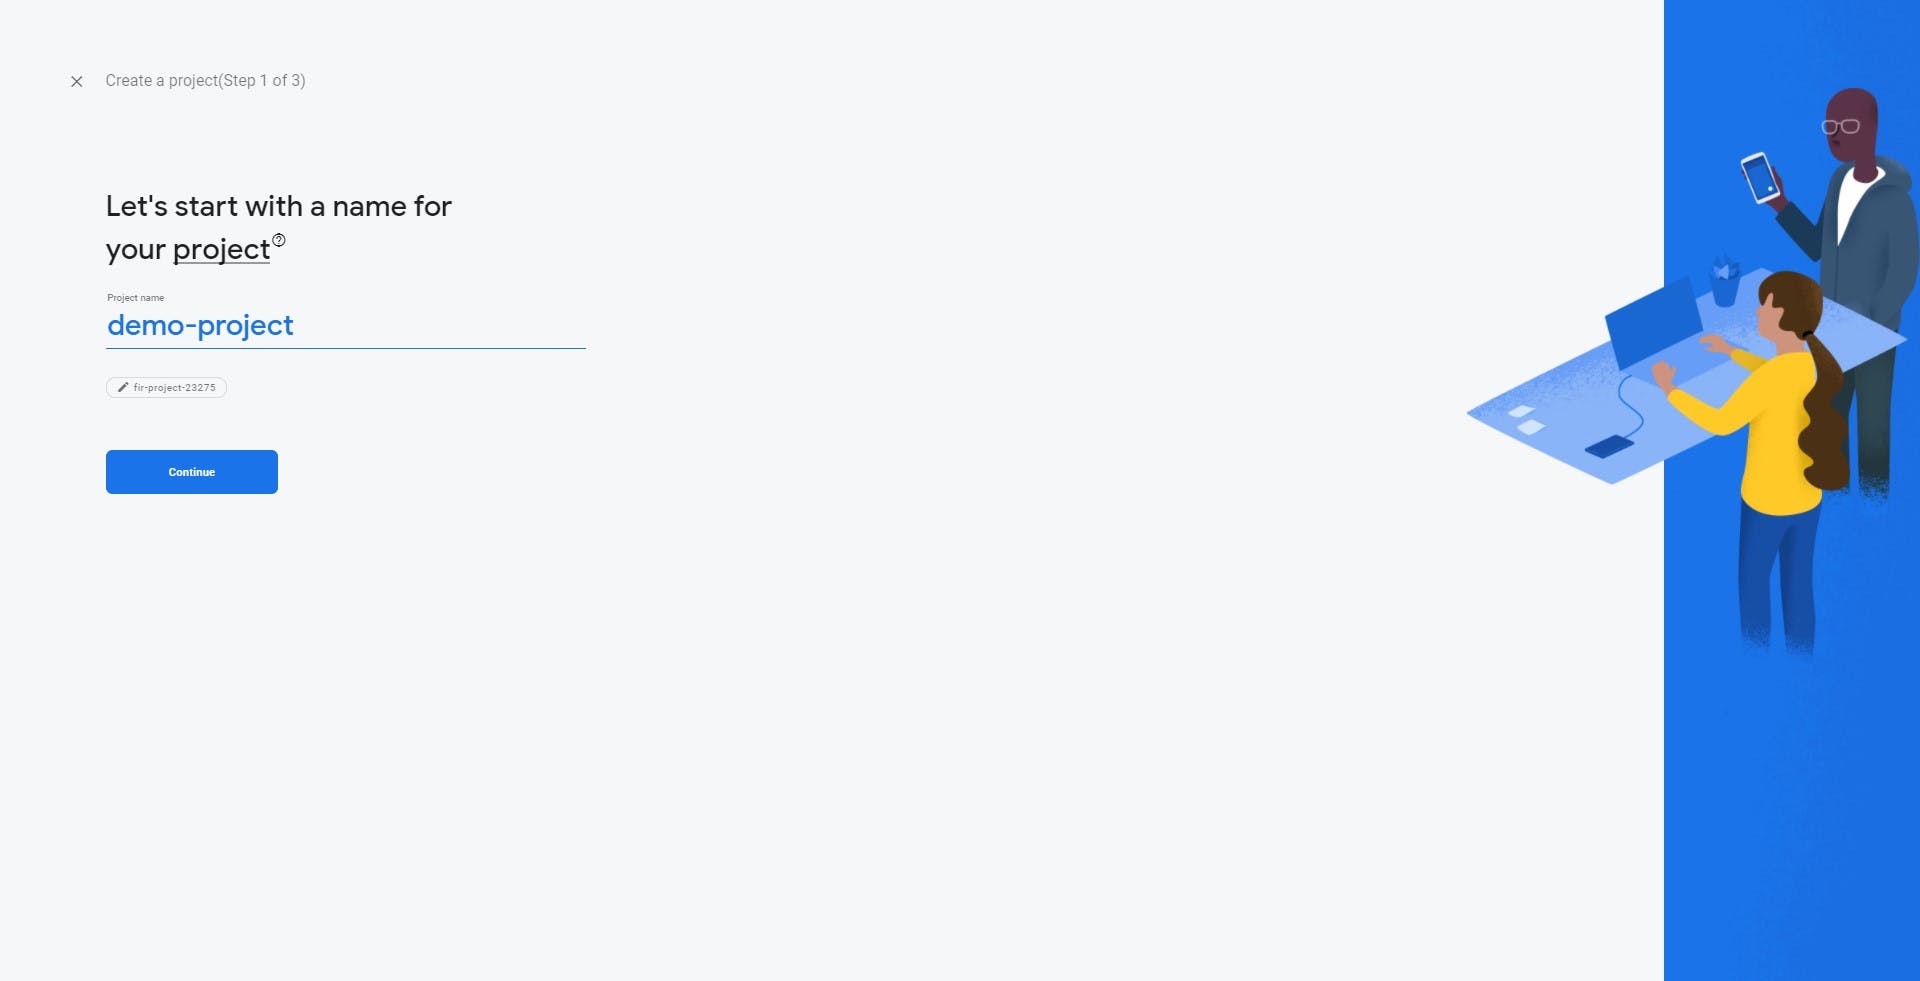
Name the project and click on Continue.
It will take you to another screen which will ask you to enable or disable Firebase Analytics

You can enable or disable firebase analytics.
Now it will take you to the third screen asking you to select an account for Google Analytics.
Select Default account for Firebase in the dropdown menu and click on Create project.
The project will be created accordingly.
After the project has been created, you will be taken to the Project Home screen showing all the services that you can assess. The home screen looks somewhat like this
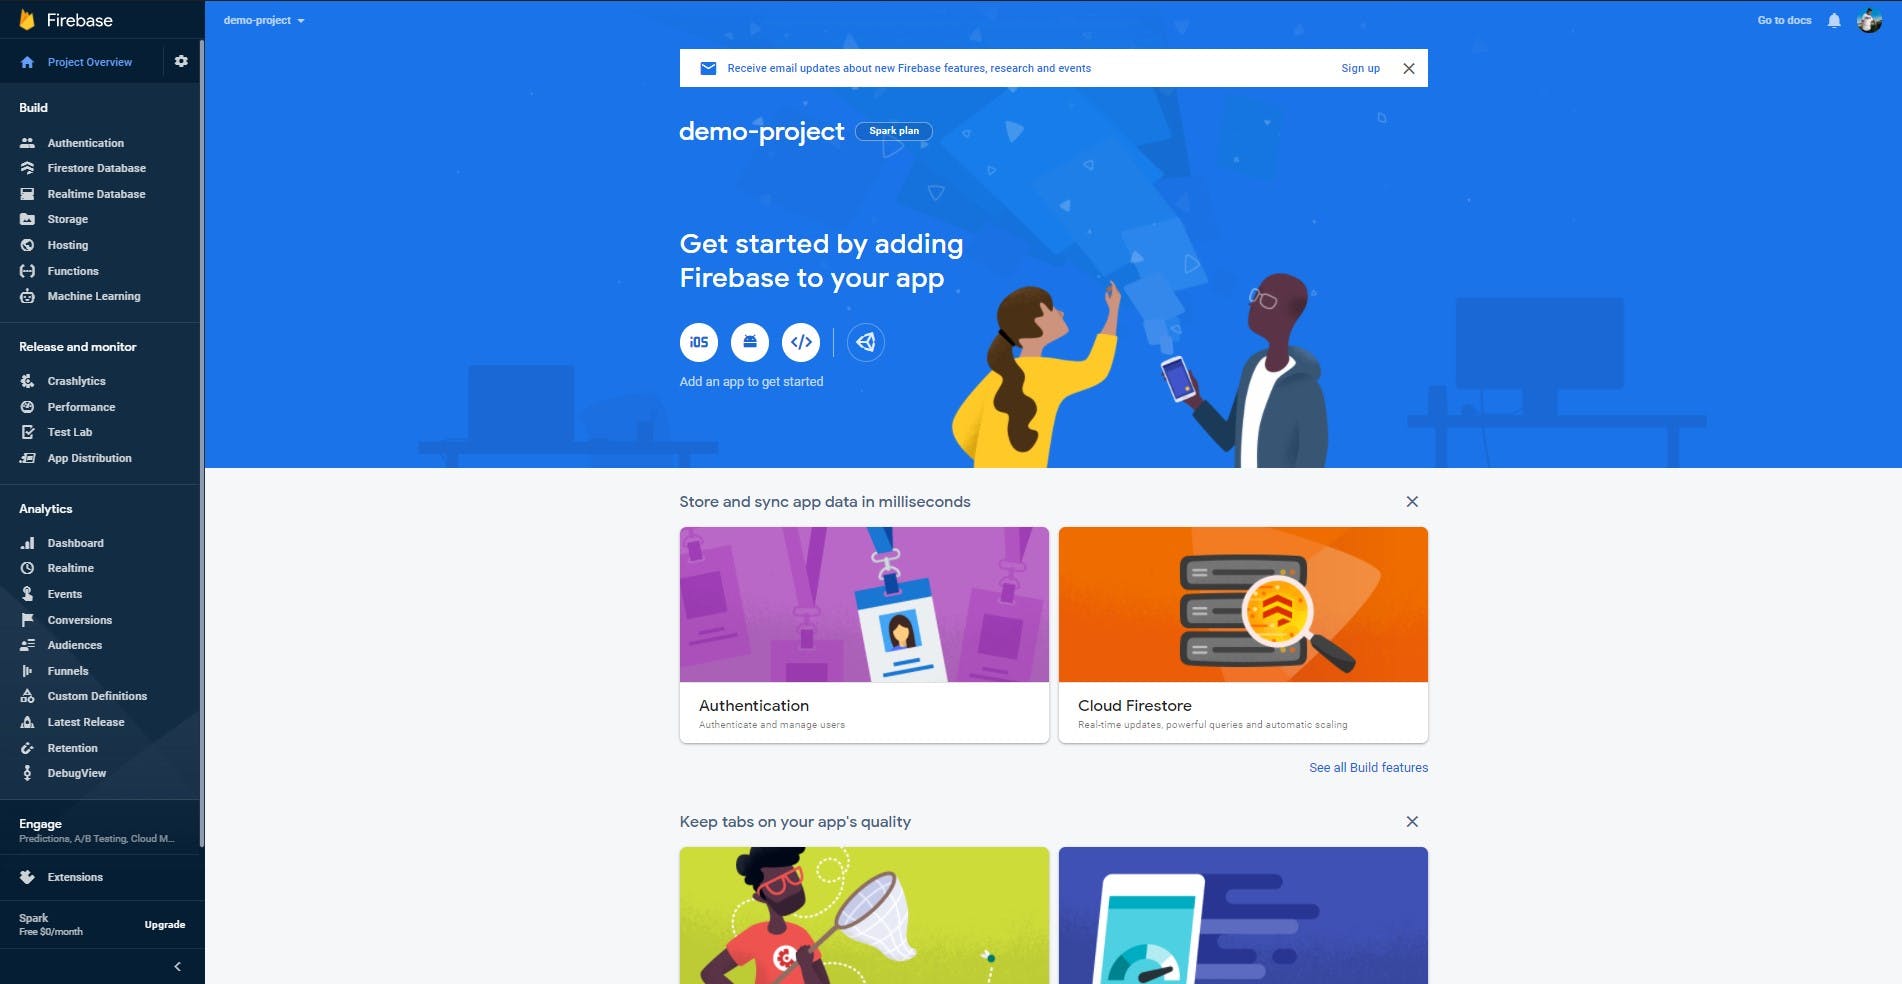
Now you can explore all the services offered by Firebase and play around with them!
We will be taking a deeper look into each of the services along with adding Firebase to our app in the upcoming articles of this series!

Hope you enjoyed the blog!
Let's meet in the next article of this series!
Useful Links:

