


GitHub is a web-based platform for version control. It is a place where developers commit their code to share it with other developers for work purposes. GitHub makes it easy for developer employees to collaborate on a project by sharing one another's code. Team members can easily view one another's code and make changes easily.
They can also merge one another's code by just merging the default branch. GitHub is also used for the purpose of committing your projects to be shown to the interviewer in job interviews. During interviews, you can show all the projects you have done and explain them easily all in one place rather than do it locally on your laptop. Also, anyone can view your projects from anywhere in the world by just accessing your GitHub profile. Hence, it is important for your GitHub profile to look commanding enough for any person who views it to be satisfied with your contributions.
One such way for your GitHub profile to look attractive is by adding a GitHub Profile Readme for your profile. A profile readme is a README file in a repository that is displayed on your profile when someone visits it. The repository has the name same as your GitHub profile username. In GitHub, any repository which has the same name as your GitHub username is considered a special repository and if that specific repository has a README file, that README file is displayed on your GitHub profile.
So how does this repository and the README file matter in making your GitHub profile attractive?
Whatever you put in that README file, is going to be displayed on your profile, so you can add your details, interests, your achievements, major projects, certificates, and blogs if you have written any. You can use your creativity to customize your profile according to your wish. You can also add your GitHub stats like the number of commits, pull requests, contributions you have made to your profile.
Sounds cool right, so let's get started by adding a repository with the same name as your GitHub username.
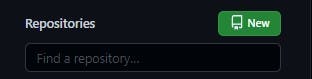
Click on the New button to create a new repository.
On clicking the button, you will be taken to a screen like this wherein you will be asked to enter your repository name and a few more pre-requisites.
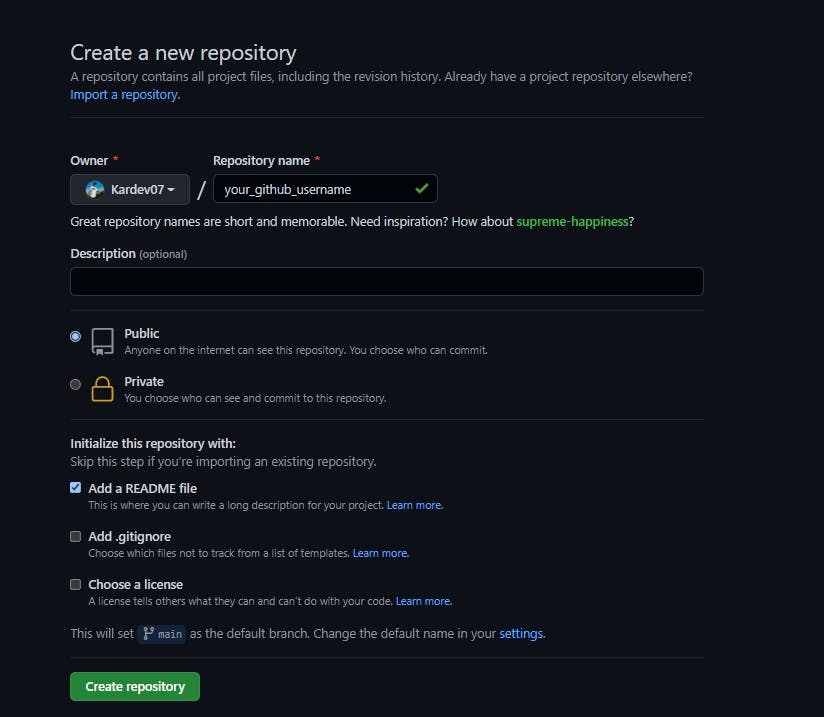
As you can see I have entered the name as your_github_username. This indicates that the name of the repository needs to match with your GitHub Username.
If your username is example456, the repository name also needs to be example456.
Some more pre-requisites that you need to follow are:
- Be sure the repo name matches with your username.
- Be sure to make the repository public.
- Be sure to click on Add a README file in the Initialize this repository with: section.
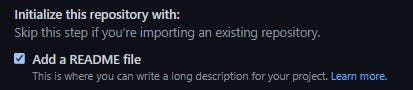
Now if you have done everything right, you must see this section on your repository page.
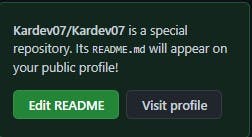
Now, you are ready to edit the README!
One of the pre-requisites for you to edit the README is to know how to write basic markdown.
Now, click on the pen button on the right as seen in the image seen below.

Introducing Yourself:
You should start off by introducing yourself in somewhat this manner

I have centered the text as I liked it better in that way, but it is completely up to you to center it or leave it as it is
About you:
And now moving onto yourself, who are you, what do you do, what is your goal, your resume, etc.
You can follow this pattern of intro based on the picture given below or you can use your creativity to do something of your own

How to reach you:
Moving onto how to reach you, if you use linktree you can attach your link. If you don't have linktree, you can attach your social media links separately. Again, you can use your creativity by using bullet points, icons of apps leading to your specific handle, etc. An example of how to contact is given below

If you have reached until here, give a clap to yourself!. You have reached the half part of adding a custom README to your GitHub profile
Listing Blogs:
If you have any blogs or if you are a YouTuber, you can attach your links in the same manner as listing the contacts.
Adding your GitHub stats(optional):
As shown in the heading, adding stats to your README is completely optional. But I recommend doing it if you want to add a finishing touch to your README.
Moving onto how to add the stats. Before doing so, take a look at how the stats actually look.
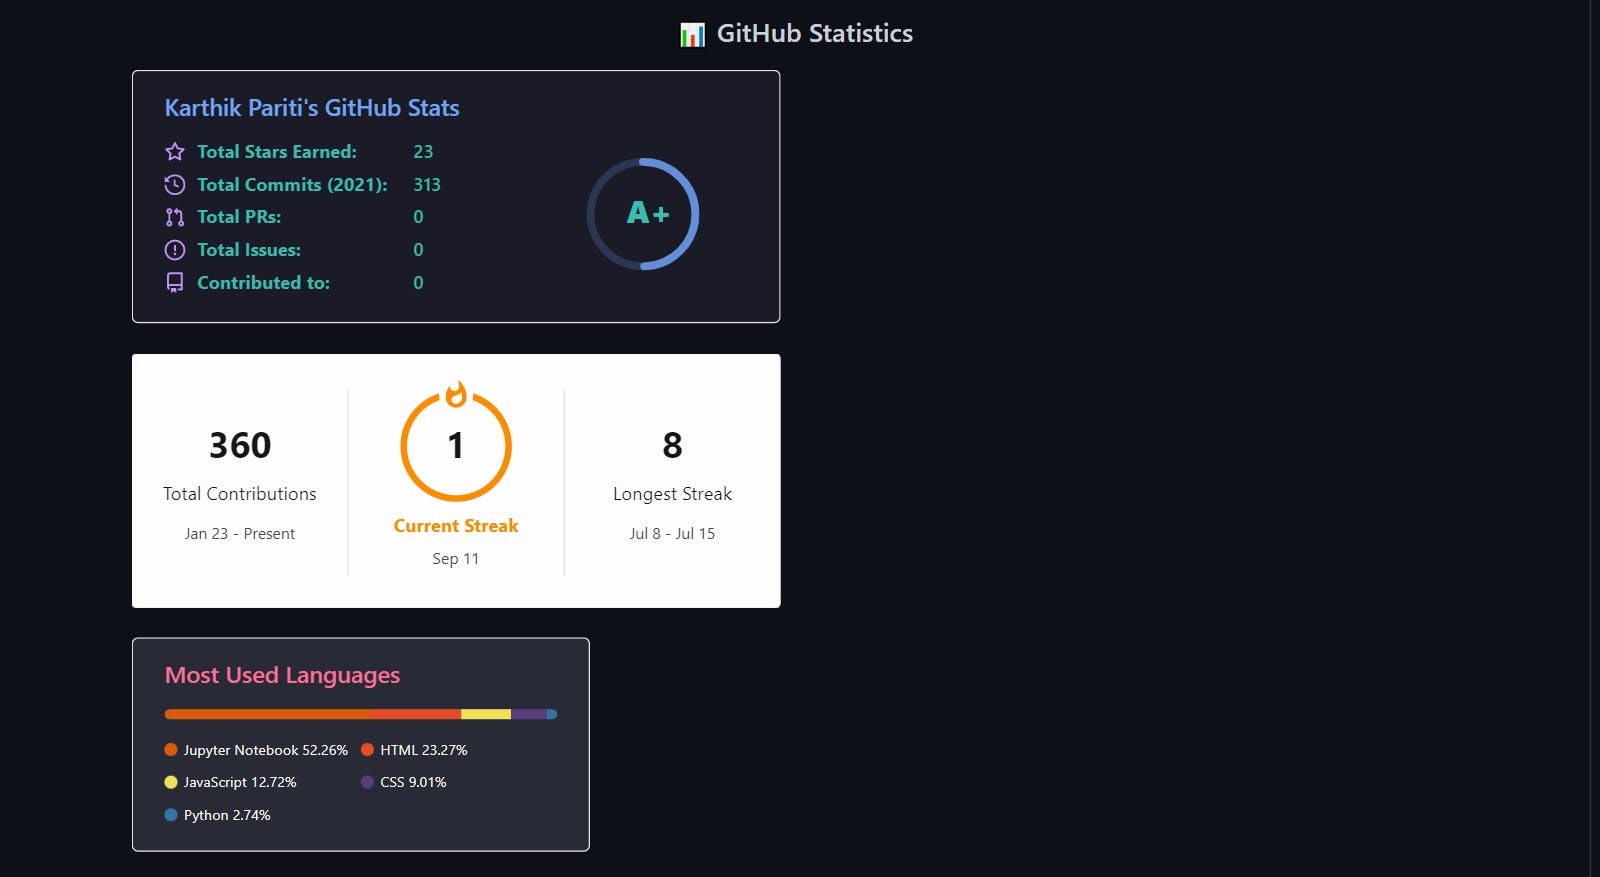
They look pretty cool, right? Let's move onto actually adding them. As you can see, there are 3 cards for stats.
- One's for your commits, contributions, pull requests, etc.
- The second one is for your contributing streak, i.e how many days in a row have you contributed to your GitHub, and what is your longest streak of contributions.
- The third one is for the stats of the breakdown of the languages you used.
The first card:
The first card is made by a person called Anurag Hazra. You can visit his GitHub for more, now I am going to give the code after which it will display your stats on your README.
[](https://github.com/anuraghazra/github-readme-stats)
Change Anurag's GitHub stats to anything you want and change the ?username= value to your GitHub username.
The second card:
The second card is made by a person called DenverCoder1. You can visit his GitHub for more, now I am going to give the code after which it will display your stats on your README.
[](https://git.io/streak-stats)
Change the ?user= value to your GitHub username.
The third card:
The third card is also made by Anurag Hazra. You can visit his GitHub for more, now I am going to give the code after which it will display your stats on your README.
[](https://github.com/anuraghazra/github-readme-stats)
Change ?username= value to your GitHub username.
I would like to clarify that I don't claim any copyrights to the cards. All the copyright credits go to the original contributors of the cards respectively.
Extra Customizations:
Customize your pins: One good way to customize your profile to make it look good is, customizing your pinned repositories. GitHub by default pins 6 of your repos and gives an option to customize them based on your wish. You can click on the Customize your pins button on the Pinned section on your profile. Uncheck the repos which you do not want to be showed and check the ones which you want to.

Add your personal details: You can edit your profile on Github by clicking on the Edit profile option in the left of your profile.

You can add your Twitter account, your location, your resume link which reveals a lot more about you
Hope you liked the blog!
Useful Links: